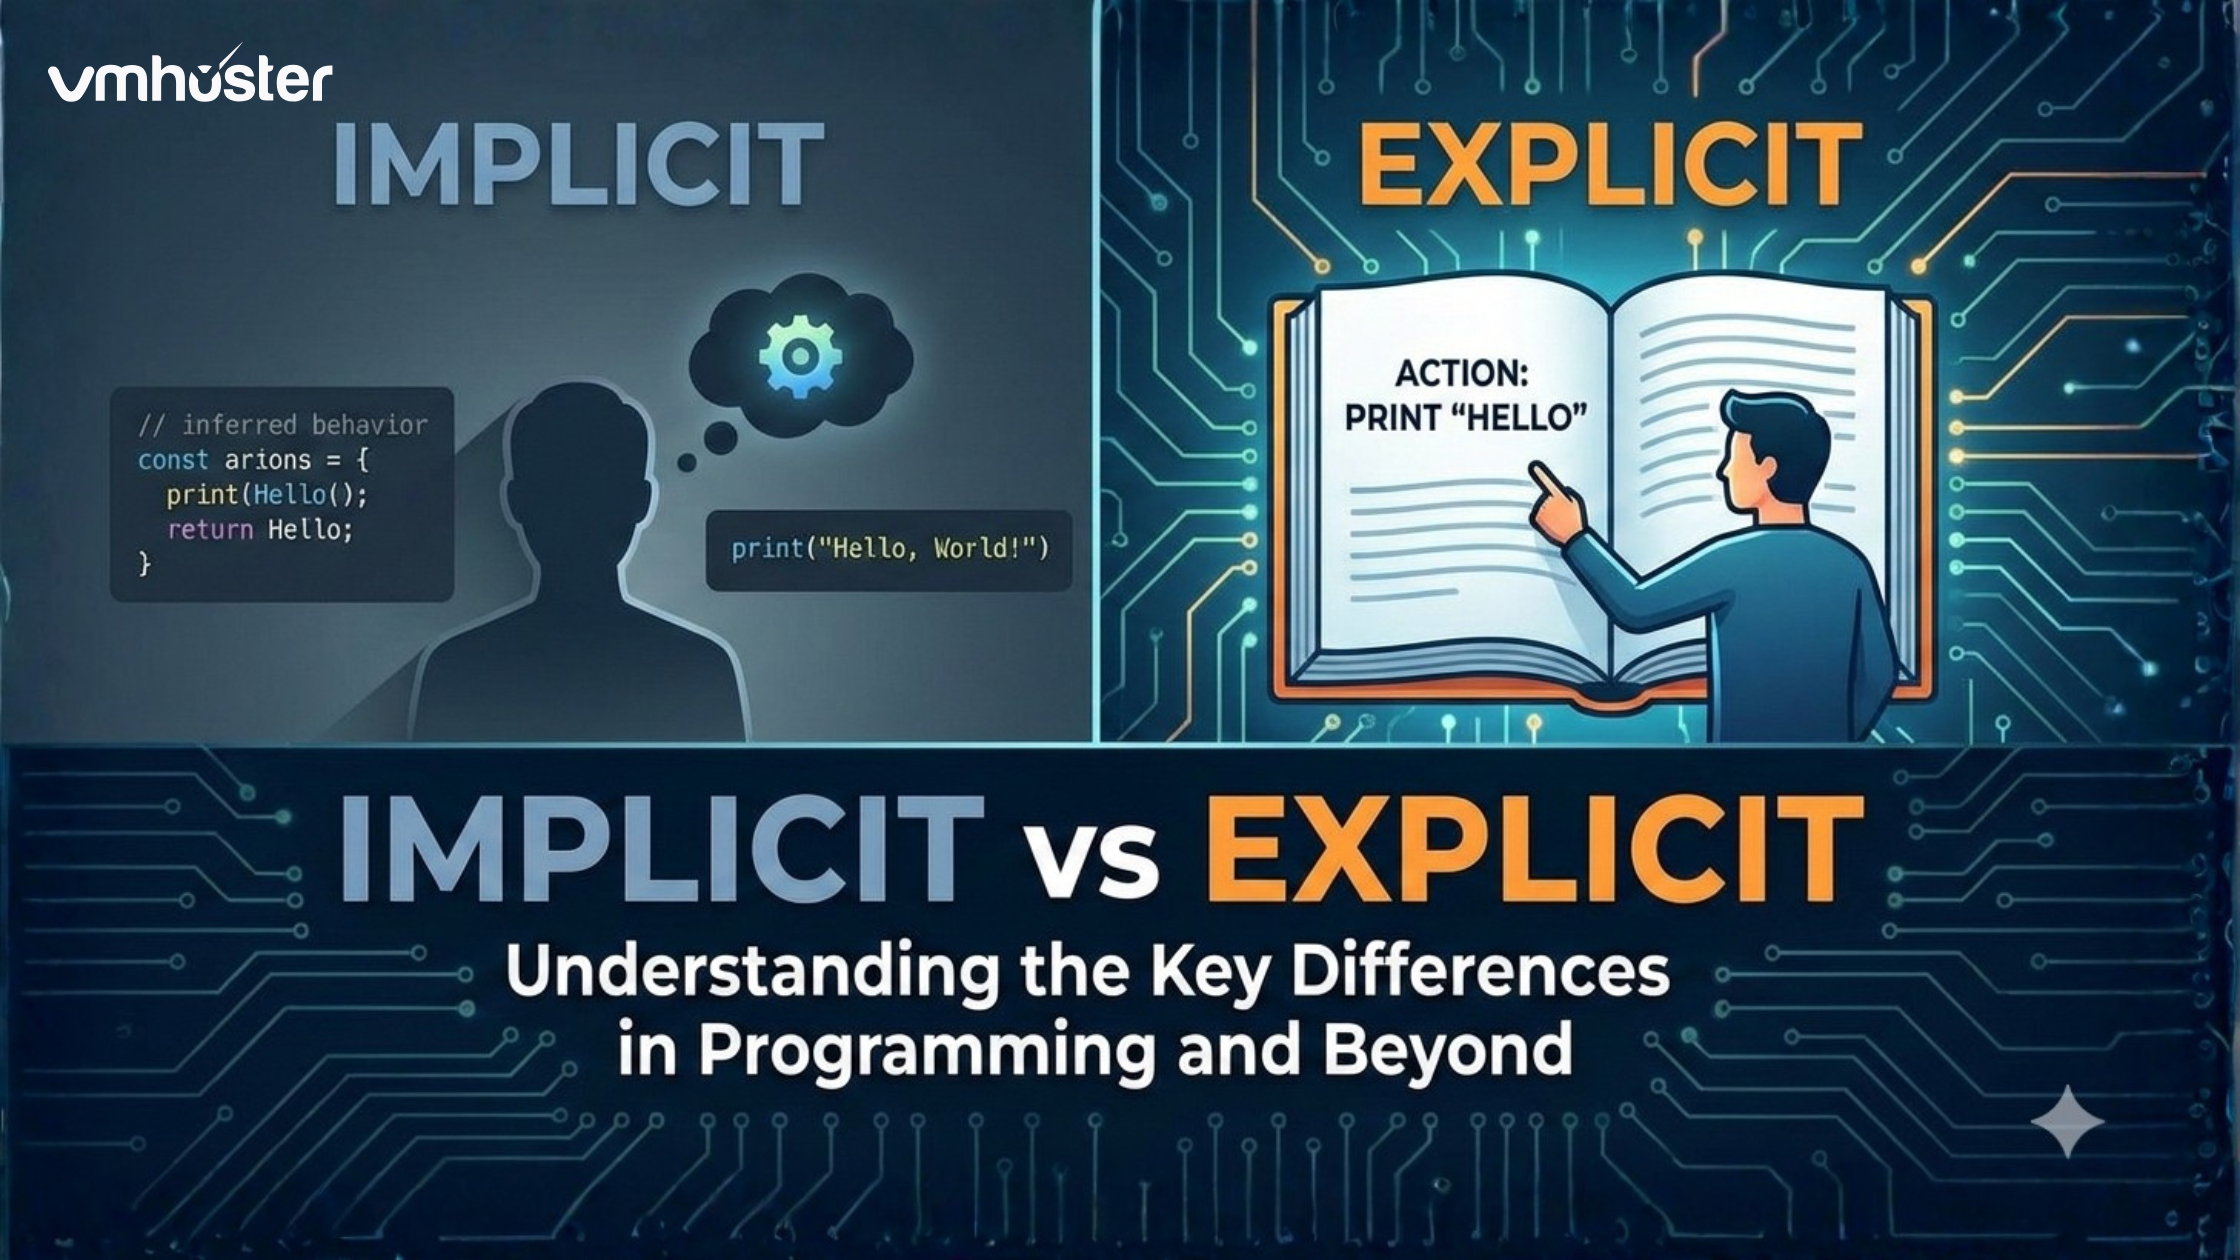
When I first started working with Java web applications, I remember the frustration of trying to get Tomcat up and running on a Windows server. After countless hours of troubleshooting and multiple deployments across different environments, I’ve learned that having a solid, step-by-step process makes all the difference. Whether you’re a developer setting up your first production environment or a system administrator managing enterprise applications, this guide will walk you through easy and practical guide of how to install apache tomcat 9 on windows server 2019.
Why install apache tomcat 9 on windows server 2019?
Before diving into how to install apache tomcat 9 on windows server 2019, let’s talk about why this combination still makes sense in 2024. Windows Server 2019 provides excellent stability and security features, while Tomcat 9 offers robust support for Java EE applications with improved performance over earlier versions. I’ve deployed this setup for everything from small business applications to enterprise-level systems, and it consistently delivers reliable results.
Prerequisites: What You’ll Need Before Starting
From my experience, having everything prepared beforehand saves hours of backtracking. Here’s your checklist:
- Windows Server 2019 (Standard or Datacenter edition)
- Administrator privileges on the server
- Java Development Kit (JDK) 8 or higher – I recommend JDK 11 for optimal compatibility
- At least 2GB of available RAM (4GB+ recommended for production)
- Stable internet connection for downloads
SSL certificate (if you plan to enable HTTPS)
Step 1: Installing Java Development Kit (JDK)
This is where many beginners stumble, so let me walk you through it carefully.
Downloading the Right JDK Version
- Navigate to the Oracle JDK download page or consider OpenJDK as a free alternative
- Download the Windows x64 installer for JDK 11 (or your preferred version)
- Run the installer as Administrator
Setting Up JAVA_HOME Environment Variable
This step is crucial – I’ve seen countless installations fail because this wasn’t configured properly:
- Open System Properties → Advanced → Environment Variables
- Under System Variables, click New
- Variable name: JAVA_HOME
- Variable value: C:\Program Files\Java\jdk-11.0.x (replace x with your version)
- Add %JAVA_HOME%\bin to your PATH variable
Verifying Java Installation
Open Command Prompt as Administrator and run:
cmd
java -version
javac -version
You should see version information for both commands. If not, double-check your environment variables.
Step 2: Downloading Apache Tomcat 9
Now for the main event! Head over to the Apache Tomcat download page and look for the Windows Service Installer. I always recommend this option for Windows Server installations because it automatically sets up Tomcat as a Windows service.
Choosing the Right Download
You’ll see several options:
- 32-bit/64-bit Windows Service Installer (recommended)
- Windows zip (for manual setup)
- tar.gz (for Linux environments)
For our Windows Server 2019 setup, grab the 64-bit Windows Service Installer.
Step 3: Installing Apache Tomcat 9 on Windows Server 2019
Here’s where the rubber meets the road. Run the downloaded installer as Administrator and follow along:
Installation Wizard Walkthrough
- Welcome Screen: Click Next
- License Agreement: Accept and click Next
- Choose Components: Keep all default selections
- Configuration:
- HTTP/1.1 Connector Port: 8080 (default)
- Windows Service Name: Tomcat9
- Administrator login: Create a username and strong password
- Java Virtual Machine: The installer should auto-detect your JDK path
- Choose Install Location: Default is C:\Program Files\Apache Software Foundation\Tomcat 9.0
Post-Installation Configuration
After installation completes, you’ll want to verify everything is working:
- Open Services (services.msc)
- Look for “Apache Tomcat 9.0 Tomcat9”
- Ensure it’s set to “Automatic” startup type
- Start the service if it’s not already running
Step 4: Configuring Windows Firewall
This is a step many people forget, then wonder why they can’t access their applications! Let’s open up the necessary ports:
Opening Port 8080 for HTTP
- Open Windows Defender Firewall with Advanced Security
- Click Inbound Rules → New Rule
- Select Port → TCP → Specific Local Ports: 8080
- Allow the connection
- Apply to all profiles (Domain, Private, Public)
- Name it “Apache Tomcat HTTP”
Opening Port 8443 for HTTPS (if using SSL)
Repeat the same process for port 8443 if you plan to configure SSL.
Step 5: Testing Your Tomcat Installation
The moment of truth! Open your web browser and navigate to:
http://localhost:8080
You should see the Tomcat welcome page. If you’re accessing from another machine, replace localhost with your server’s IP address.
If you don’t see the welcome page, check:
- Windows Firewall settings
- Tomcat service status
- Event Viewer for any error logs
Advanced Configuration: Installing SSL Certificate in Apache Tomcat 9
Now here’s where things get interesting. Setting up SSL on Tomcat requires a few more steps, but it’s absolutely worth it for any production environment.
Understanding SSL Certificate Types
Before we dive in, you’ll need an SSL certificate. You have several options:
- Commercial certificates from providers like DigiCert, Sectigo, or GoDaddy
- Let’s Encrypt free certificates (great for testing)
- Self-signed certificates (development only)
For this example, I’ll show you how to configure both commercial and self-signed certificates.
Method 1: Using a Commercial SSL Certificate
If you have a commercial certificate (typically provided as .crt and .key files), here’s how to configure it:
Step 1: Convert Your Certificate to PKCS12 Format
Open Command Prompt as Administrator and navigate to your certificate directory:
cmd
openssl pkcs12 -export -out server.p12 -inkey server.key -in server.crt -certfile intermediate.crt
You’ll be prompted to create a password – remember this!
Step 2: Configure server.xml
Navigate to C:\Program Files\Apache Software Foundation\Tomcat 9.0\conf\ and open server.xml in a text editor (I prefer Notepad++ for this).
Find the SSL connector section (it’s usually commented out) and modify it:
xml
<Connector port=”8443″ protocol=”org.apache.coyote.http11.Http11NioProtocol”
maxThreads=”150″ SSLEnabled=”true” scheme=”https” secure=”true”
keystoreFile=”conf/server.p12″ keystorePass=”your_password”
keystoreType=”PKCS12″ clientAuth=”false” sslProtocol=”TLS” />
Method 2: Creating a Self-Signed Certificate (Development/Testing)
For development environments, you can create a self-signed certificate using the Java keytool:
cmd
cd “C:\Program Files\Apache Software Foundation\Tomcat 9.0\conf”
keytool -genkeypair -alias tomcat -keyalg RSA -keysize 2048 -validity 365 -keystore keystore.jks
Then configure your connector:
xml
<Connector port=”8443″ protocol=”org.apache.coyote.http11.Http11NioProtocol”
maxThreads=”150″ SSLEnabled=”true” scheme=”https” secure=”true”
keystoreFile=”conf/keystore.jks” keystorePass=”your_password” keyAlias=”tomcat” clientAuth=”false” sslProtocol=”TLS” />
Step 3: Restart Tomcat and Test SSL
After saving your configuration:
- Restart the Apache Tomcat service
- Test your SSL setup by visiting https://localhost:8443
- For self-signed certificates, you’ll need to accept the security warning
Troubleshooting Common Issues
Over the years, I’ve encountered just about every install apache tomcat 9 on windows server 2019 issue you can imagine. Here are the most common problems and their solutions:
“Service Won’t Start” Error
Symptoms: Tomcat service fails to start or stops immediately Solutions:
- Check Event Viewer for detailed error messages
- Verify JAVA_HOME is correctly set
- Ensure no other service is using port 8080
- Check file permissions on Tomcat directory
“Cannot Access Tomcat from Remote Machines”
Symptoms: Works on localhost but not from other computers Solutions:
- Verify Windows Firewall rules
- Check if Windows Defender is blocking connections
- Ensure server IP is correctly configured in network settings
SSL Certificate Issues
Symptoms: Browser shows certificate errors or connection refused Solutions:
- Verify certificate format and paths in server.xml
- Check certificate expiration date
- Ensure intermediate certificates are properly included
Test with openssl: openssl s_client -connect localhost:8443
Performance Optimization Tips
After running Tomcat in production for several years, here are my go-to optimization techniques:
Memory Configuration
Edit the Tomcat service properties and adjust JVM parameters:
- Initial memory pool: -Xms512m
- Maximum memory pool: -Xmx2048m
- Garbage collector: -XX:+UseG1GC
Connection Pool Tuning
Modify the connector in server.xml:
xml
<Connector port=”8080″ protocol=”HTTP/1.1″
connectionTimeout=”20000″
maxConnections=”8192″
maxThreads=”200″
redirectPort=”8443″ />
Security Best Practices
Security should never be an afterthought. Here’s what I implement on every Tomcat installation:
1. Remove Default Applications
Delete or rename these directories in webapps/:
- ROOT (or replace with your application)
- examples
- docs
- manager (unless needed)
2. Configure Security Headers
Add security headers to your web.xml:
xml
<filter>
<filter-name>httpHeaderSecurity</filter-name>
<filter-class>org.apache.catalina.filters.HttpHeaderSecurityFilter</filter-class>
</filter>
3. Regular Security Updates
Keep both Windows Server and Tomcat updated. I recommend subscribing to Apache Security advisories to stay informed about vulnerabilities.
Integration with VMHoster Services
If you’re hosting on VMHoster’s Windows VPS solutions, you’ll find that their pre-configured environments often include optimizations that work particularly well with Tomcat deployments. Their support team is also experienced with Java application hosting, which can be invaluable when troubleshooting complex deployment issues.
For those considering cloud alternatives, check out our comparison of Windows hosting vs Linux hosting to understand which platform best suits your specific needs.
Deploying Your First Application
Once everything is configured, deploying a WAR file is straightforward:
- Copy your .war file to the webapps directory
- Tomcat will automatically extract and deploy it
- Access your application at http://yourserver:8080/yourapp
I always recommend testing deployments in a staging environment first – this has saved me countless headaches in production.
Monitoring and Maintenance
Setting Up Log Rotation
Tomcat logs can grow quickly. Configure log rotation in logging.properties:
properties
1catalina.org.apache.juli.AsyncFileHandler.rotatable = true
1catalina.org.apache.juli.AsyncFileHandler.maxDays = 7
Performance Monitoring
Consider integrating with monitoring tools like:
- JConsole (built into JDK)
- Application Performance Monitoring solutions
- Windows Performance Toolkit
Backup and Recovery Strategies
Based on my experience managing production Tomcat servers, here’s what I recommend for backups:
What to Back Up
- conf/ directory (all configuration files)
- webapps/ directory (your applications)
- logs/ directory (for troubleshooting)
- SSL certificates and keystores
Automated Backup Script
Create a simple batch file to automate daily backups:
batch
@echo off
set BACKUP_DIR=D:\Backups\Tomcat_%date:~-4,4%%date:~-10,2%%date:~-7,2%
xcopy “C:\Program Files\Apache Software Foundation\Tomcat 9.0\conf” “%BACKUP_DIR%\conf\” /E /I
xcopy “C:\Program Files\Apache Software Foundation\Tomcat 9.0\webapps” “%BACKUP_DIR%\webapps\” /E /I
Conclusion
install apache tomcat 9 on windows server 2019 might seem daunting at first, but following this systematic approach ensures a smooth deployment. The key is taking your time with each step and verifying everything works before moving forward.
Remember, every environment is unique. What works in my setups might need tweaking in yours, especially when it comes to firewall rules and SSL configuration. Don’t hesitate to test thoroughly in a development environment before rolling out to production.
Key Takeaways
- Always verify Java installation before installing Tomcat
- Configure Windows Firewall properly for external access
- Use SSL certificates for any production environment
- Implement security hardening from day one
- Set up proper monitoring and backups before going live
Useful Resources
- Apache Tomcat 9 Documentation
- Oracle JDK Documentation
- Windows Server 2019 Security Baseline
- VMHoster Live Chat Support – Excellent resource for Windows VPS troubleshooting
What’s Next?
Once you have Tomcat running smoothly, you also can consider exploring:
- Top Java Interview Questions (With Answers) You Should Know in 2025
- Powerful Linux Commands
- VPS vs Cloud Hosting
Have you successfully install apache tomcat 9 on windows server 2019? I’d love to hear about your experience and any challenges you encountered. Feel free to share your setup in the comments below!